Background: When I purchased the SV650, the first thing I heard was "you will want to upgrade the brakes." After a few rides, I knew what they meant. I'm used to bike that I can use one or two fingers on the front brake and stop whenever I wanted. Well...the SV braking system reminded me of my days on a cruiser. Having to use the rear brake to get stopped at an intersection. I really didn't like that.
So after lots of research and shopping, I set out to upgrade the brakes.
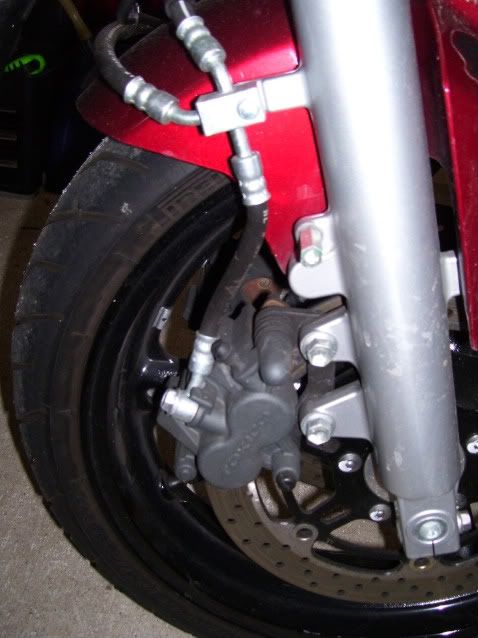
First, this is the stockers. Two piston Tokico POS
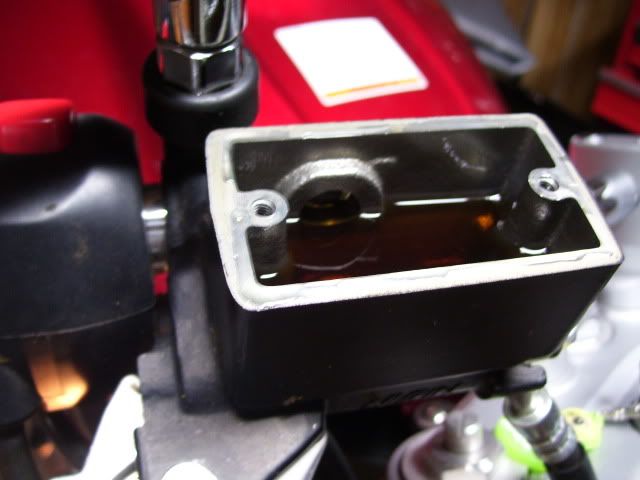
The first thing I did was get the old fluid out of the lines. Notice how dark the fluid is. Should have already been changed.
I used a clear hose and a Maxwell house coffee bucket to bleed the lines. Notice how the hose fits nicely into the handle of the bucket to keep it from flipping out of the bucket when loosening the bleed valve.

Next, unhook all the hose clips.

Then take the caliper off the fork
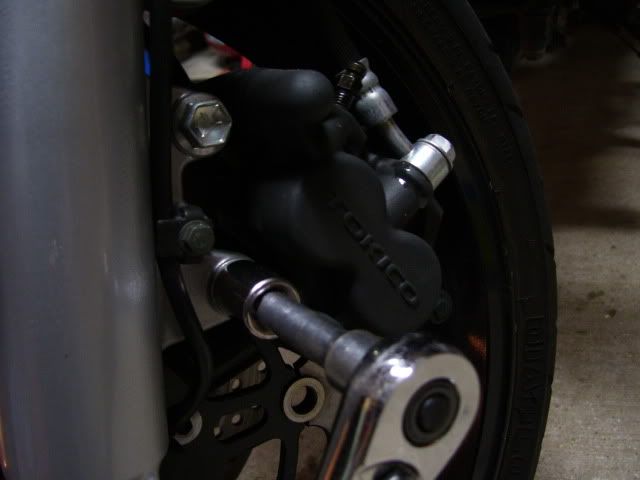
POS from the underside

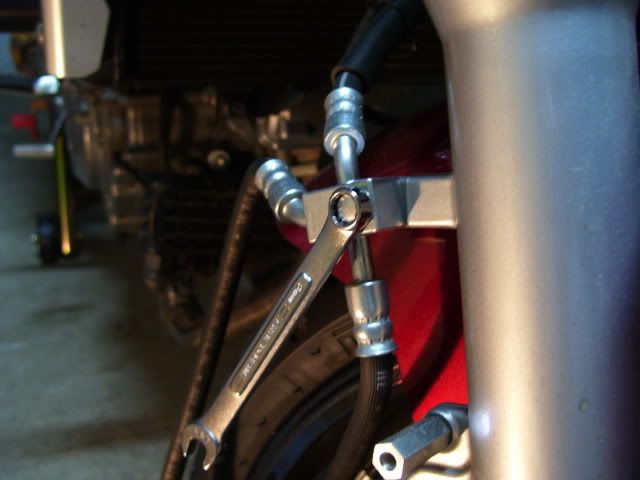
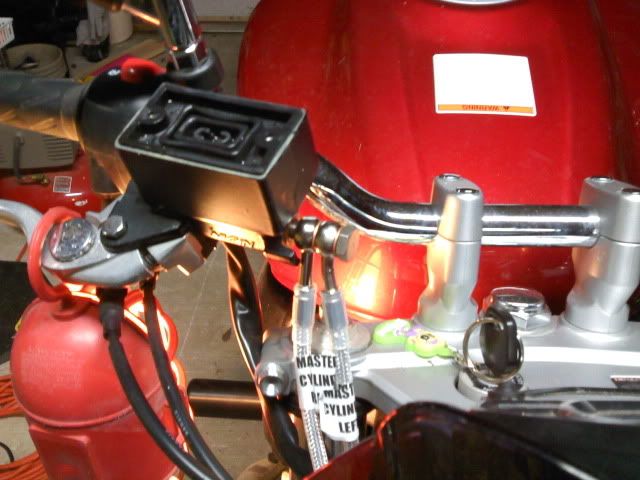
Unhook the banjo bolt from the master cylinder

Hasta la vista old system

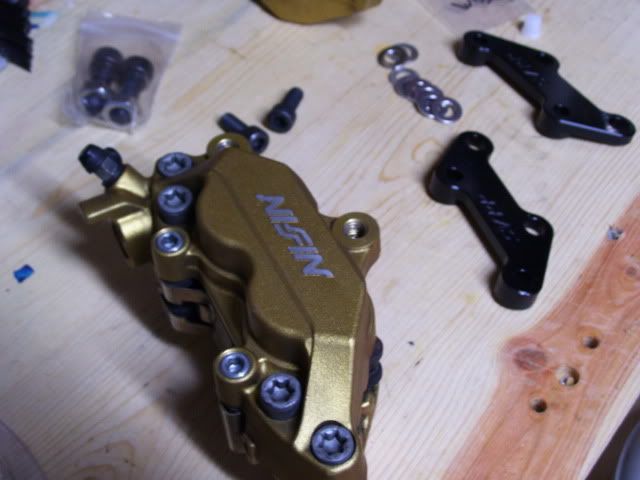
Here are the new goodies

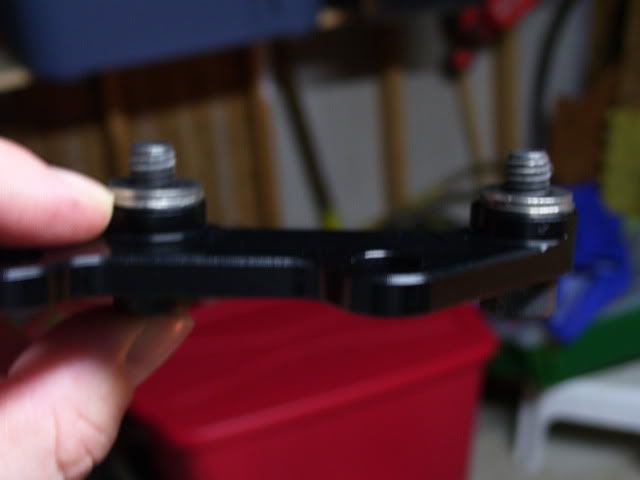
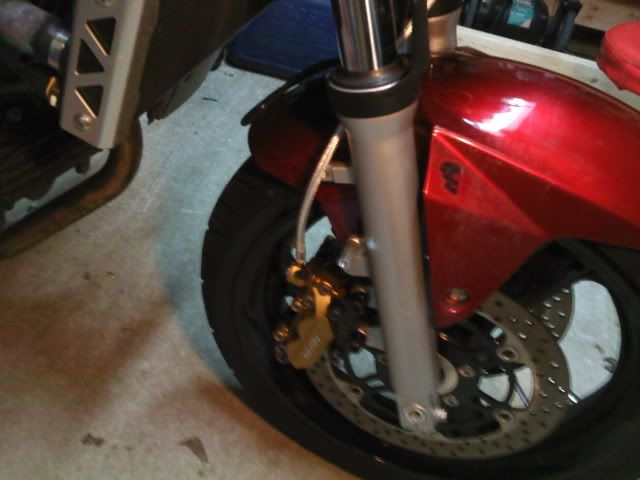
Upgrading brakes on the SV requires an adapter bracket. I attached the bracket to the calipers using the attached spacers to perfectly align the caliper on the rotor.
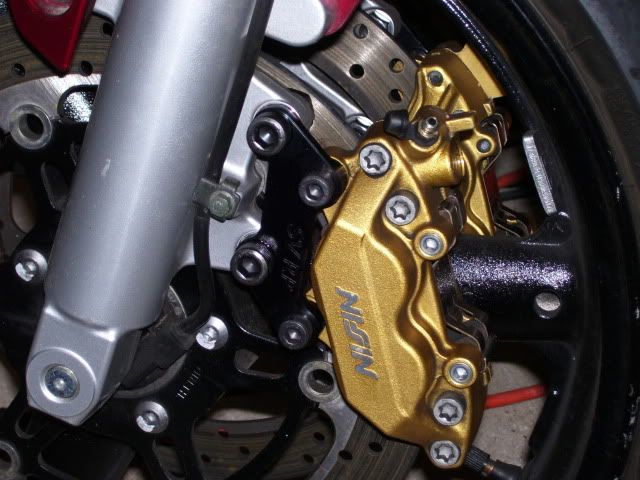
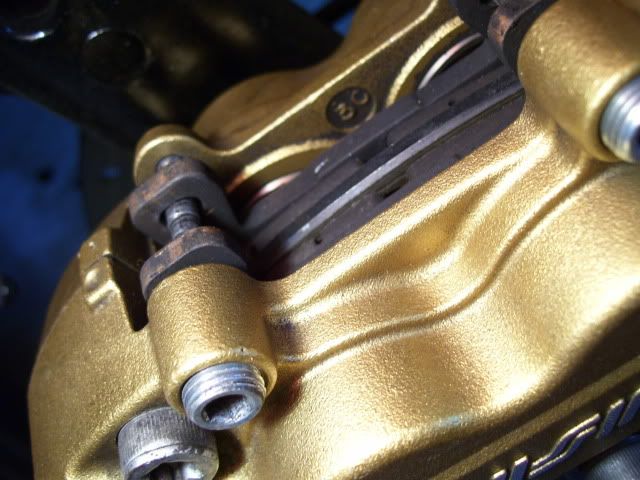
I dry fit the calipers to check the alignment. Notice how the pads hit just below the bevel of the rotor. Perfect fit
After locktite on the calipers, I proceed to the stainless lines. I'm using the Galfers. First, attached the banjo bolts to the master cylinder. Galfer clearly identifies the right and left line. Be sure to use three copper crush washers at the master cylinder (provided with the Galfer lines)
Attach the lines to the calipers. Then bleed the lines

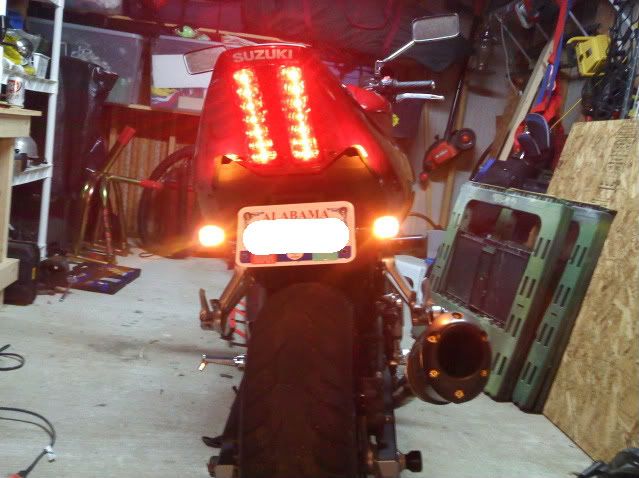
While I was at it, I got rid of the stock turn signals, made a fender eliminator ($2) and painted the chrome headlight housing black.
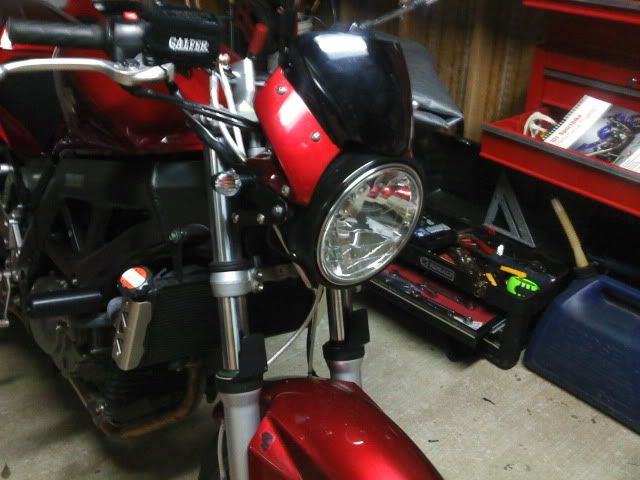
I was completely frozen after this project. (My workshop has some huge holes in the siding that I've been needing to fix) I will get some outside pics soon. Thanks for reading.