By this point, the anticipation was absolutely KILLING me!! For the past 4 months, all I wanted to do was hear her run again. Cosmetics or anything else I wasn't worried about, I just wanted to hear her run. So I stopped there, made sure I had everything connected engine wise, bolted the exhaust on, and stuck the gas tank on. Had a gas can with a little bit of gas in it so I poured a little bit in the tank. I was just saying a prayer.... pleeeeeease start up, please start up! There were so many things running through my mind... "did I tighten that?".... "Did I remember to put that piece in?".... "Did I leave anything loose?"..... "I did put oil in right?"..... "What if it doesn't start?". Seriously all the "what if's" running through my mind at 100 mph. But, I connect the battery and all the lights come on and the fuel pump primes. I switch it off and on several times to fill up the lines with fuel. I had my fingers crossed and made this video..... it is indeed the very first attempt to start it. Watch and see!
YouTube - MOV01897.MPG
WoooooooooHooooooo!! Success!! Seriously, words can't describe how happy I was to hear her start right up and run.... perfectly. Both a huge sigh of relief, as well as a huge feeling of accomplishment, I was almost crying happy tears just to hear her run again, and something I assembled piece by piece with my own two hands. It's a feeling like no other!
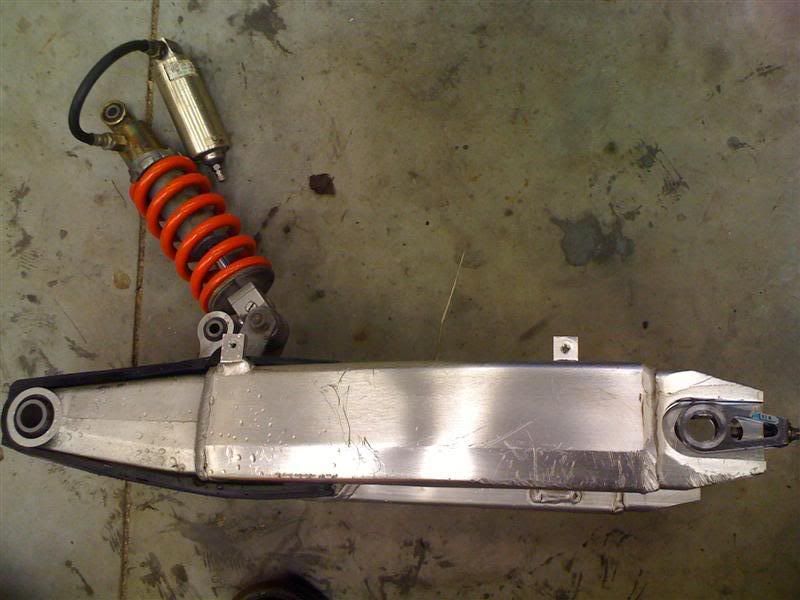
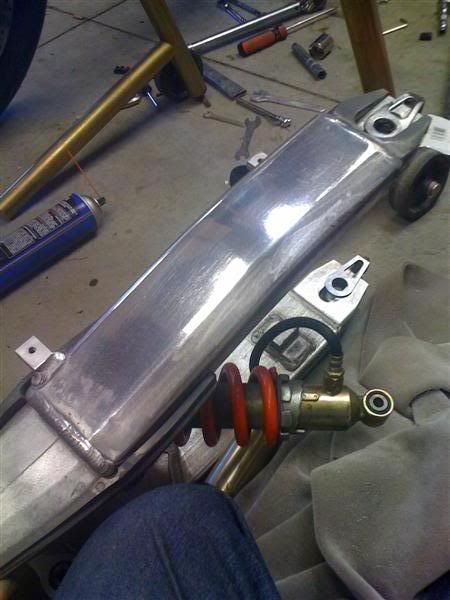
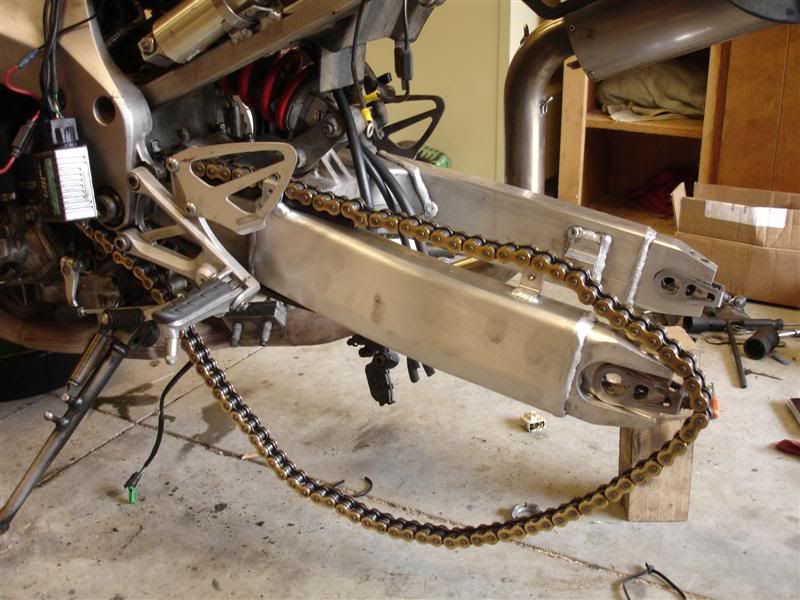
So.... after she was running like a champ, I moved on to other stuff. Remember the swingarm that was all rashed up??
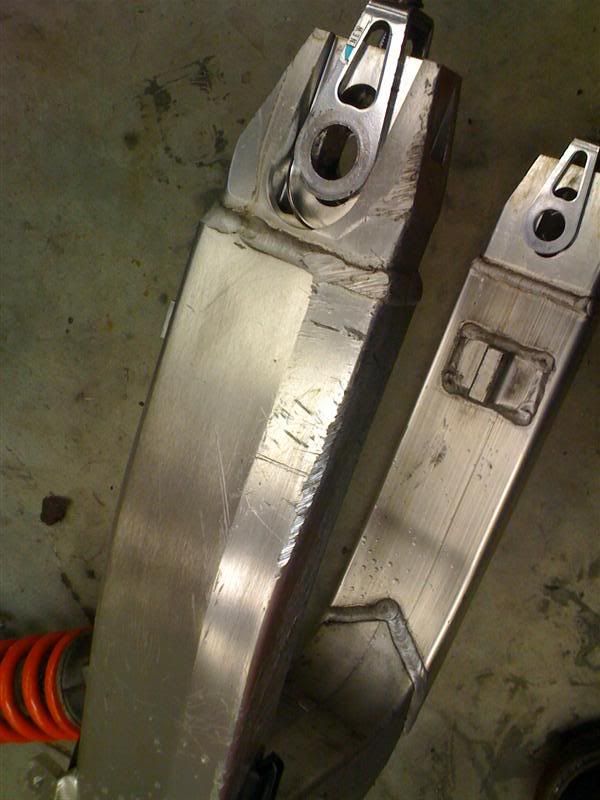
I sanded it down with my whiz wheel (same as the stator cover). It slowly shaves the metal down and removes the scratches little by little until they're gone
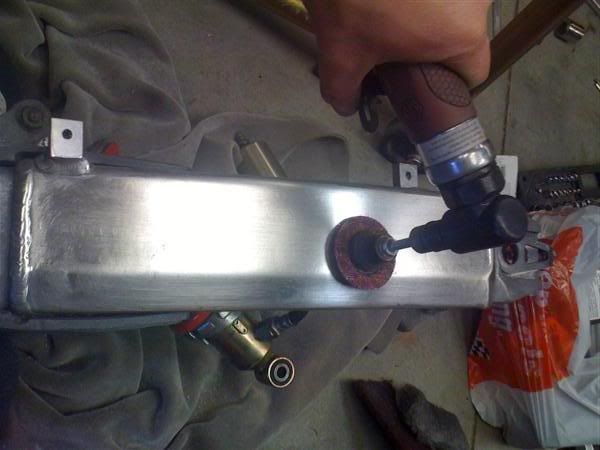
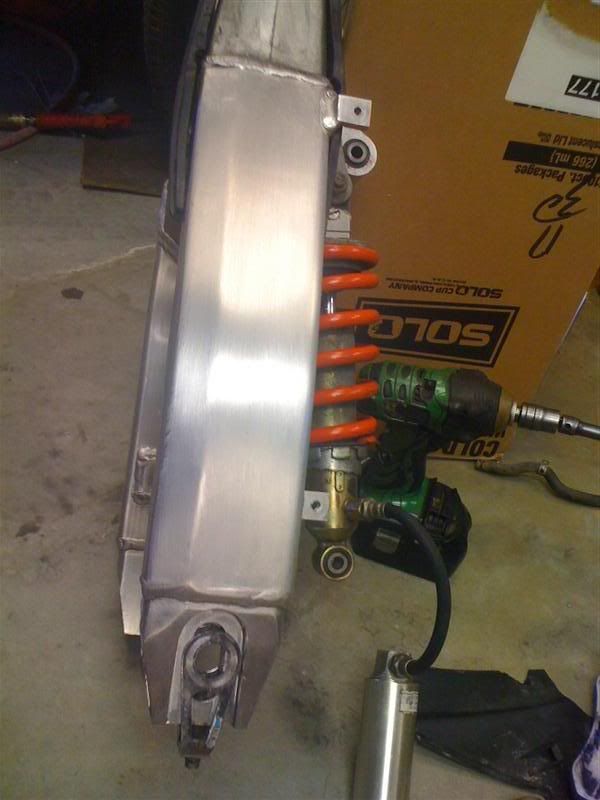
I then used some Mothers metal polish and an orbital buffer to smooth it down to a nice shine
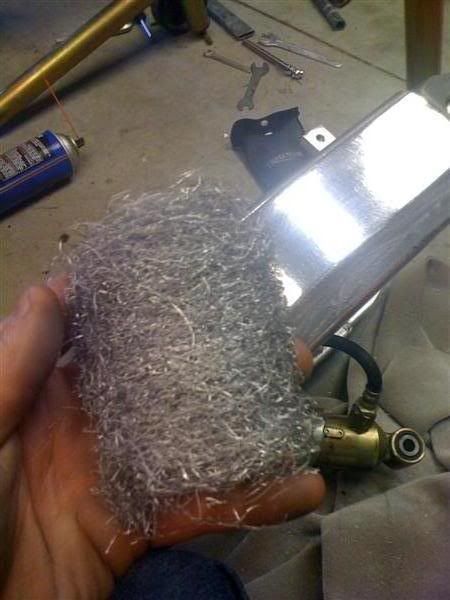
I then used course steel wool and hand sanded for about 3 hours, slowly removing any little scratches from the sanding, and giving it that brushed aluminum finish that was on it originally
It turned out pretty damn good if I do say so myself!

There's still a small bit of rash at the very bottom.... it was too deep I'd have to sand too much. It's alot better than it was though
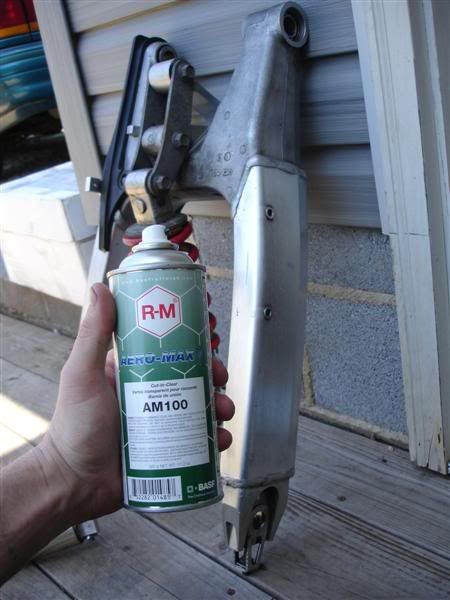
Apply several coats of commercial grade clear coat to protect the metal
Install the swingarm on the bike
Hey sometimes you gotta get creative when you don't have a big enough hex bit, haha
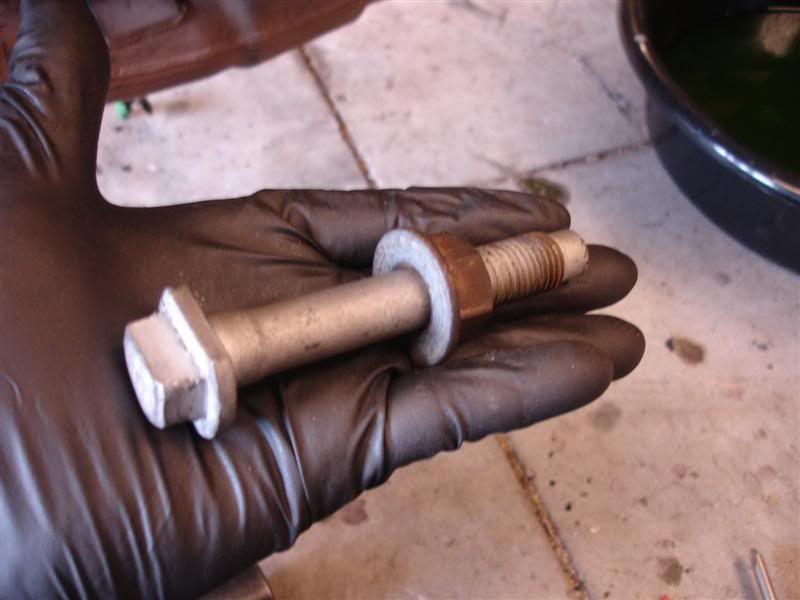
Hey whatever works, right??
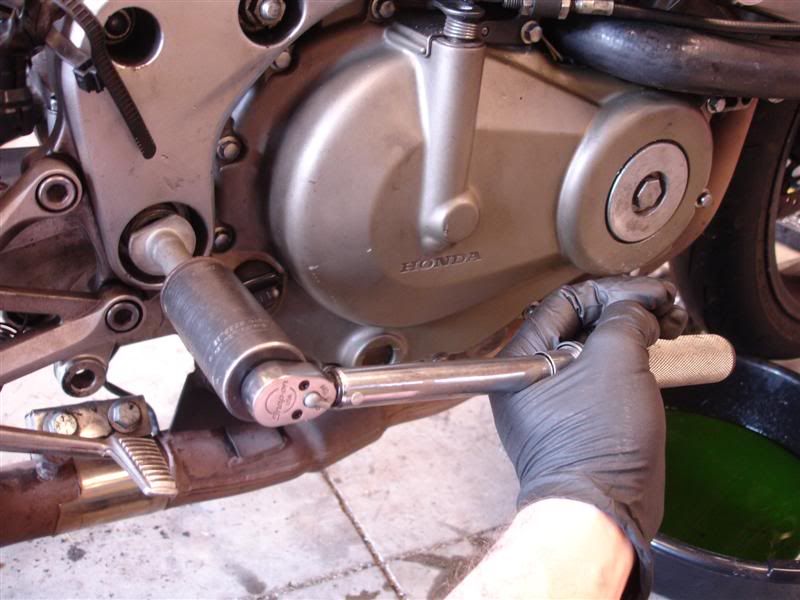
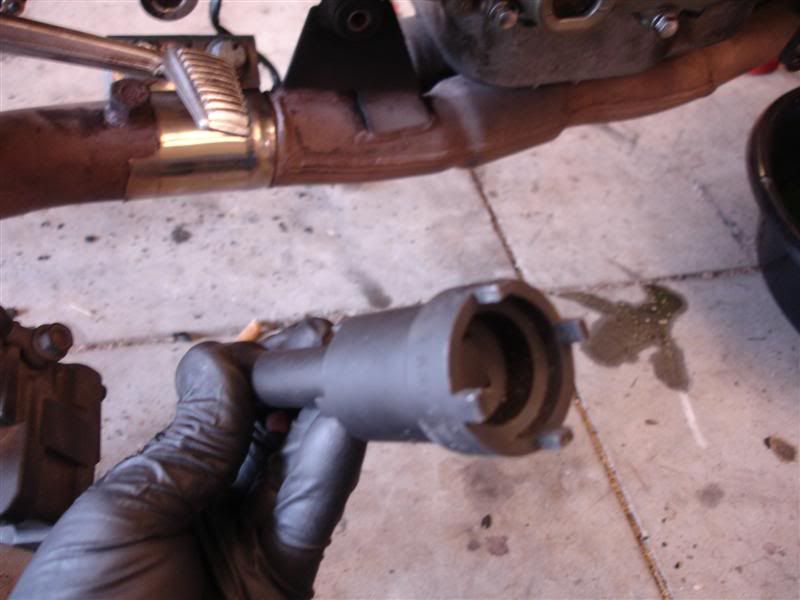
After centering the swingarm, use the special tool to tighten the adjuster lock nuts
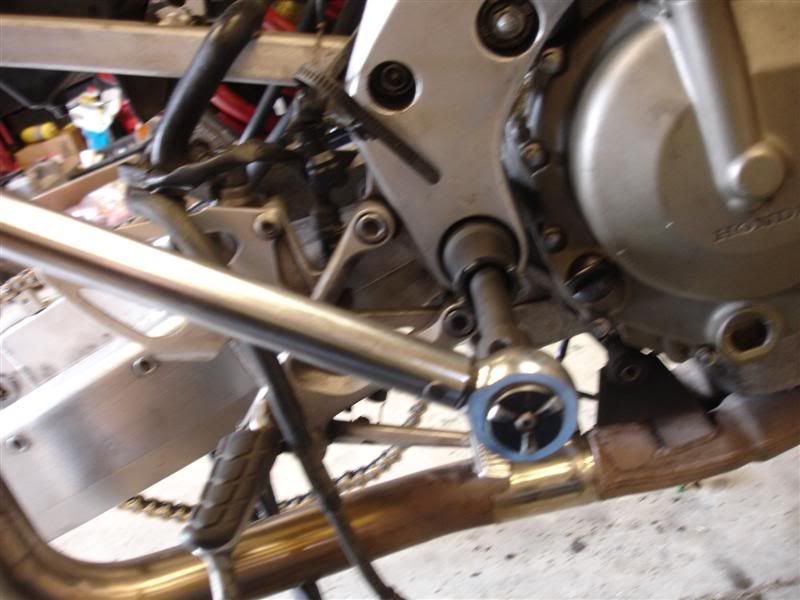
And of course the pivot bolt

Install rear wheel and rear brake caliper
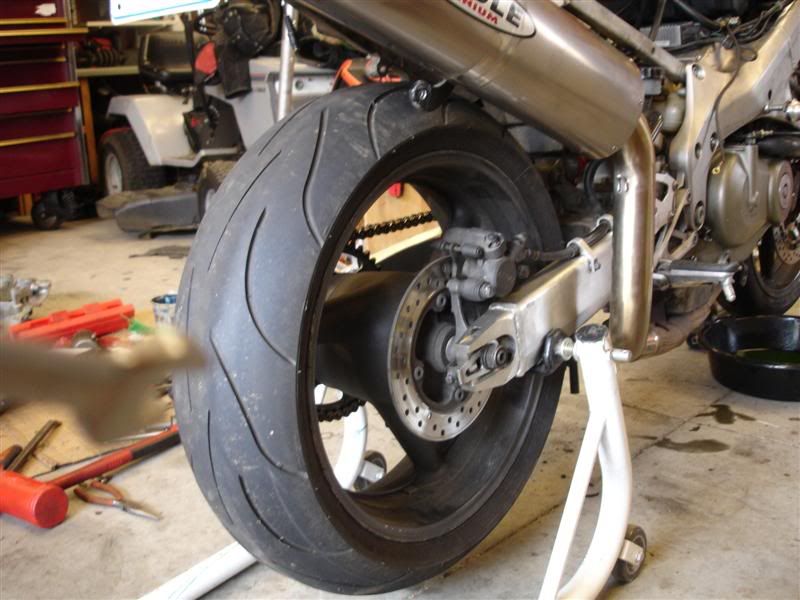
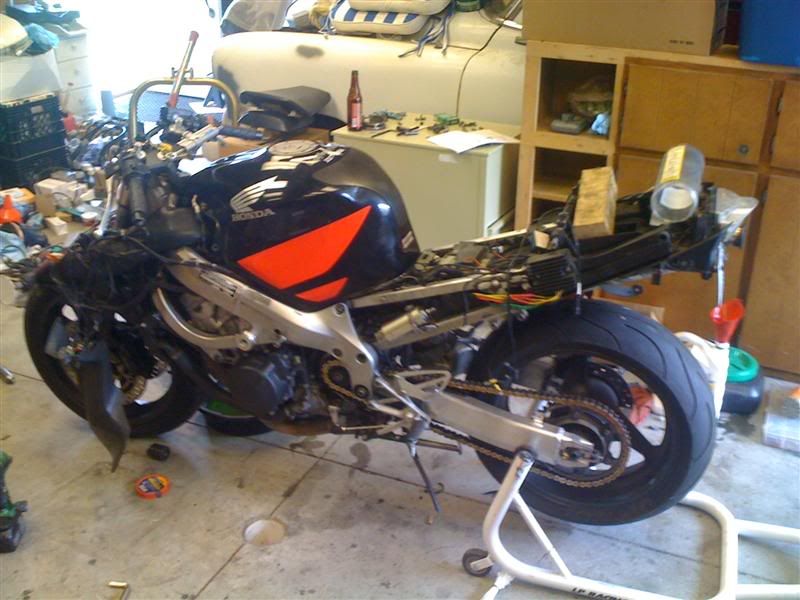
OMG... starting to look like a bike again!
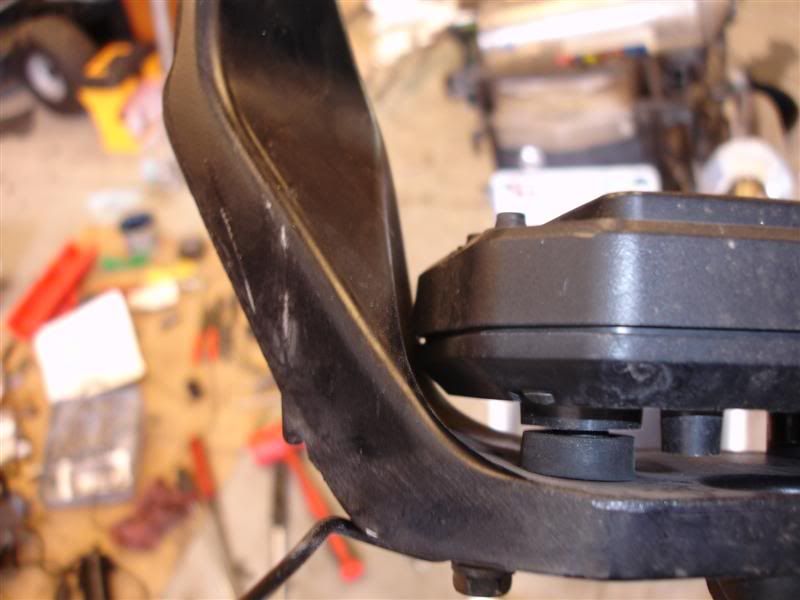
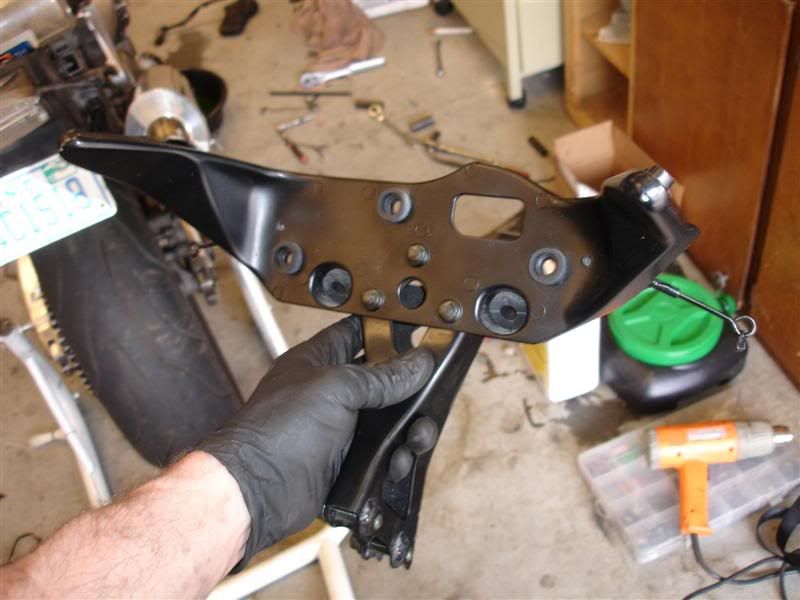
My fairing stay was tweaked just a little bit, mostly on the left side
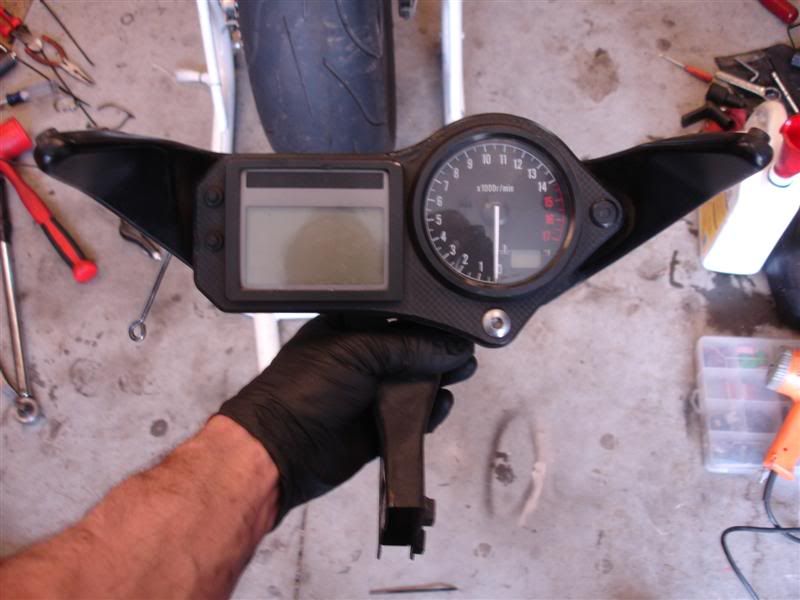
So I replaced that too
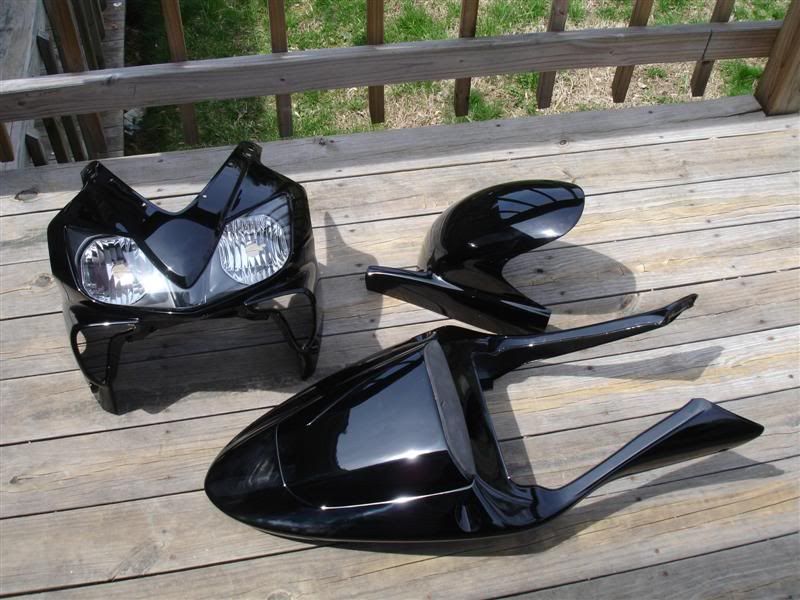
Now.... my plastics!! I got them back from the body shop, and they turned out fantastic! They repaired the small crack in the upper fairing, fixed some rash and cracks in the tail fairing, and fixed a big rock chip in the hugger, then painted them all black. The headlight had a tiny scratch so he sanded that down and got it nice and clear again. Solo seat cowl was red prior, they painted that black too. All of this cost me.... nothing. I tried to pay them, they don't take it, not even for paint. Good thing for having buddies in the body shop who are also riders themselves, huh?? LOL